Thursday, November 21, 2013

MIA

Hi there! Wow, it's been a while since I posted anything here. I apologize for the long silence. Something big has come up with our family and it has taken up all my time. I actually haven't had any time to do any crafting at all. So I'm going to be taking some time off crafting for a while. Hopefully, I'll be back sooner than later. I'll miss you guys. 

I'll be on Facebook if you want to leave me messages and of course you can always email me. :)


Friday, October 25, 2013

CASE Study Challenge 163

Hi there! Sorry I'm late! I'm back with a card for CASE Study Challenge 163. I have a lot of things going on right now and there's been very little time for crafting lately. But since our October muse is one of my favorite card/party makers, I did not want to miss any week at all!!! So without further ado, here's Elena's inspiration photo for this week.


Here's my interpretation of this week's inspiration. I made a little ballerina card. I wanted to have curtains on my card. So, I cut used my Versamark Pen and drew it, then heat embossed it pink. Then I colored the back with Copic markers for the pink to show through the vellum.


I also wanted it to look like glitter/confetti was falling from the top of the stage. So I stamped the falling snow image several times before adhering the vellum.

 Finally, I just die cut the ballerina and heat embossed her in gold.

What do you think? I hope you like it! Thanks for stopping by today! For more inspiration please head on over to the CASE Study Challenge Blog. Join us! :)


Tuesday, October 22, 2013

Avery Elle Simply Tags: Christmas

Hey there! I'm back with two cards today for Avery Elle. My awesome friend Nina Yang, who is a product designer for Avery Elle asked me to try out her stamp set Simply Tags: Christmas with its coordinating die set. Of course I was more than happy to play with this wonderful set! 


 I know it's says Simply Tags Christmas, but I wanted to show that it could also be used for other things. So I made this Happy Birthday card. I just stamped two string lines going across the cardstock and sprinkled stars and dots around them. I love how festive it looks! 

Then for the sentiment, I made this cute star with the banner that runs across it. And it's so much fun to combine colors for the banner too!

For my next card, I made a Christmas one. I made my own background panel by heat embossing a snowflake several times on gray cardstock. Then I made my little star tag to attach to the middle. See how different it looks to suit the theme just by changing colors? 


I added little die cut leaves underneath just to make it more festive and colorful. How does it look? :) 


There's going to be a blog hop in November so make sure to check in then! :) Thanks for stopping by today. I'll see you all again soon! :)


Monday, October 21, 2013

My first try at party decorating.

Hi there! I wanted to share a few shots of the little party we had last weekend. I was so busy getting stuff ready and entertaining people that I forgot to take more pictures. Hopefully, this is enough. :)

I don't know if you can see them, but by the window I made a garland. I die cut circles from gold and aqua tissue paper wrapping and sewed them together. It's pretty easy to make. And it looks great as a backdrop for any party!


I only have a view of the appetizer and dessert table. The main dishes were on a bigger counter but didn't have a lot of decorations on it. I just wanted to show you the pieces that I made.

The party was actually a birthday celebration for three! For hubby, me and a friend of ours who are all October celebrants. We just decided to celebrate it all together. :) So I made a little Happy Birthday piece that I stamped and framed with a $1 Ikea frame.

 I also made little buffet cards for the food. I stamped the bigger circles in aqua and then gold embossed the smaller circles. I placed the cake on some of my photo props. lol. So glad I had them for this party. :)


There you go! Hopefully there will be more parties for me to decorate! :) I would love to do some baby showers! Or first birthdays! I'll be back with another post for today. Thanks for stopping by I'll see you again soon.

Thursday, October 17, 2013

CASE Study Challenge 162


Hi there friends! Whew! It's been a busy, busy weekend for us at home. Hubby and I had a little party at home to celebrate our birthdays. Yup. We have the same birth date, just different years. :) I made a few party decorations for our spread. Hopefully, the pictures came out nice and I can show you some of them here. :)

I'm glad I had enough time to work on a project for CASE Study Challenge 162. As you know, our October muse is one of my favorite card maker/party planner. She's makes me want to have parties just so I can make decorations! Hahahahaha! Here's what Elena has for us this week.


I love the woodsy feel of Elena's card. So I pulled out the same Birch Tree background stamp set from Clear & Simple Stamps


I wanted to make a winter forest theme though. So I heat embossed falling snow onto some vellum and adhered it over the background panel. This is from Lawn Fawn's Let It Snow stamp set.


It can't be woodsy if there are no woodland animals right?! So added these cute little critters from LF Into the Woods. I had my little fox and little raccoon sitting on a cute log from LF Critters in the Forest.

To continue the winter theme, I added some glitter to the top of the vintage cream cardstock that the wee ones are standing on. And just to add a bit more color, I adhered a strip of grass on the bottom. I inked it lightly with white pigment ink to make it look like there's a thin layer of snow on it.


There you go! I hope you enjoyed my card for today! I would love to see what you come up with! Come and join us for a little inky fun! Thanks for stopping by today! I'll see you again soon! :)


Thursday, October 10, 2013

CASE Study Challenge 161


Hi there! Sorry I'm late! I've been busy with work and preparing for a party this weekend as well. But I'm here now! There was no way I was missing any week this month since our October muse is a favorite of mine! Here's Elena's inspiration for this week's CASE Study Challenge 161.


I was so happy when I saw this inspiration photo because I knew I had a coordinating stamp set for it! So I pulled out my WMS You're a Doll set and started working. This is actually Hero Arts Soft Cantaloupe I used on the doll. But with all the gloominess of the day my photo didn't come out so well. I know daylight is the best lighting for photographs but is there another way? Something that won't blow my budget? If there is, please let me know! :)


My favorite background stamps to use with this set is Folk Art Medallion. I just love the detail they bring to each other. After stamping my images and sentiment, I adhered it over a piece of brown, striped patterned paper. Then I attached it onto a kraft card base. My favorite, which I'm sure you've noticed by now. :)

And that's it for me! I hope you enjoyed that! I'll see you again soon! My wonderful friend Nina Yang has kindly invited me to try out her new stamp set Simply Tags: Christmas from Avery Elle, with it's coordinating dies. I'll finally have some time to play! Please come back to see it! :) Thanks for stopping by today!


Wednesday, October 9, 2013

WPlus9 Special Feature: Fanciful Feathers Card Set


Hello there! The WPlus9 October Release went well! I hope you liked the sets and dies we previewed last week. Are you playing with your newly acquired stamp sets already? Well, here's an idea...how about making a card gift set with a coordinating DIY gift box? :) 

If you're making several of these, it's a good idea to plan ahead for something simple. Because anything too elaborate and very layered would be very hard to make in multiples. For my card set, I used my favorite set from the August/September Release, Fanciful Feathers.


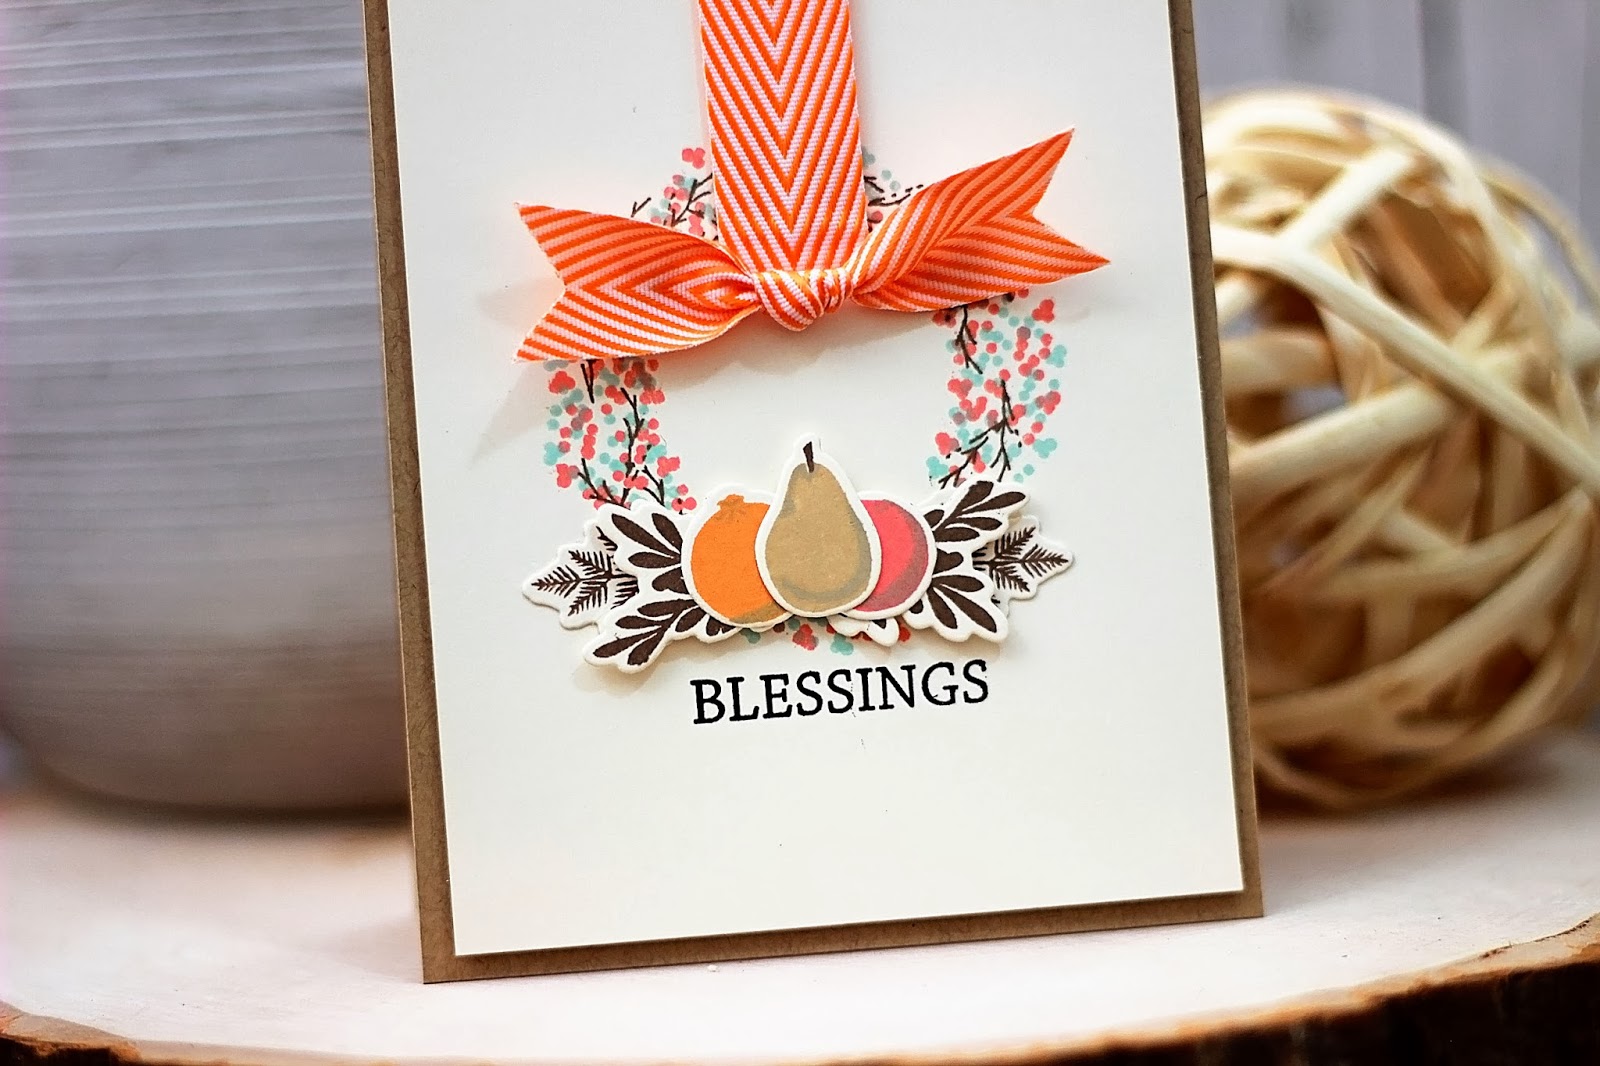
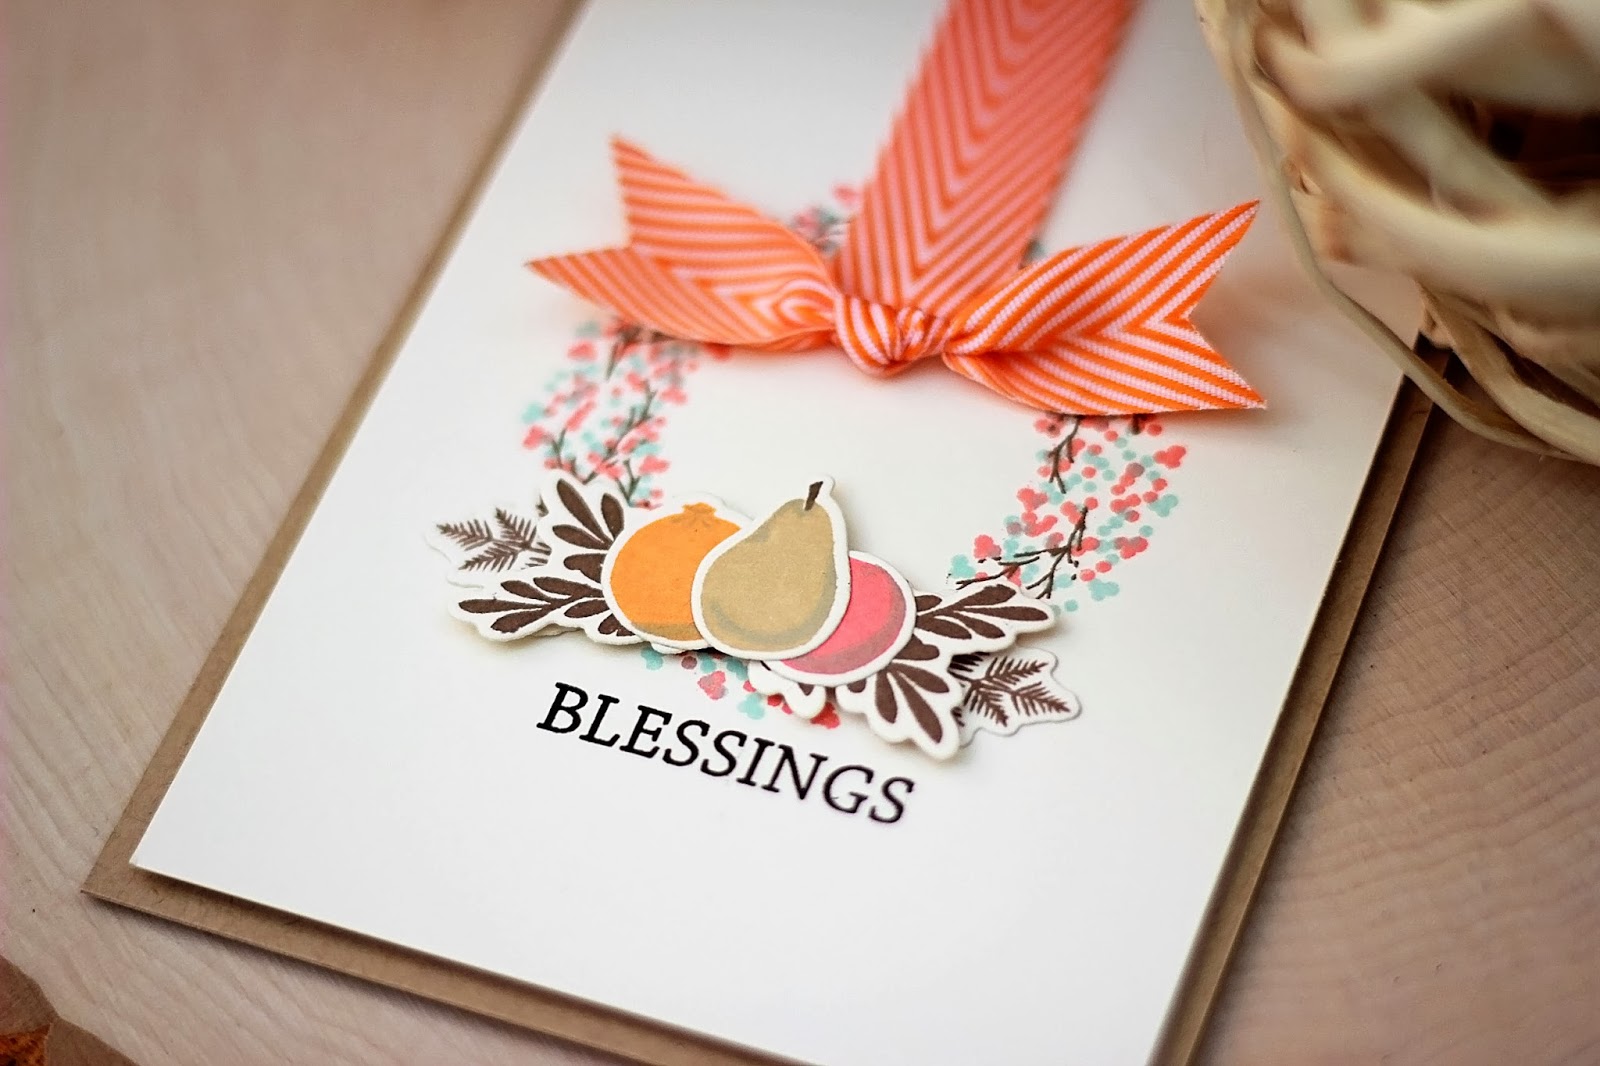
I made flat cards and stamped the filled in feather image in Hero Arts Fresh Peach. Then I heat embossed the outlined image of the feather in gold embossing powder, slightly over the first image. Then I stamped the sentiment beside it. To finish it off, I rounded the edges with a corner rounder punch.


As for add-ons, it's a great idea to make feather stickers to seal the envelopes. I just used the coordinating dies for the stamps, then stamped and/or heat embossed the feathers on the die cuts. Then I ran them through my Xyron sticker maker and there you go! Matching stickers! :) If you'll notice, I also lined the inside of the card. I think that adds such great detail to the stationery set. For this, I used the A2 Envelope Liner Die to make my brown liners. I used a darker color so that the lighter cards would pop. :)

I also made a matching stationery box for my little card set. Here's the little tutorial on how to make it. It's absolutely easy! I'm using brightly colored cardstock so that you can see it better. 


1.  Start with a 10 x 6 cardstock. Round the edges for safety.
2.  Score at 4.75" and 5.25". Then fold at the score lines.


3. Then cut another piece of cardstock this time at 5.5" x 6.75".
4.  Score 0.5" from each of the four edges.


5. Then cut 0.5" on each lengthwise side to make flaps.
6.  Fold at the scored portions of the cardstock.


7.  Assemble your little box by using strong adhesive on the flaps you made and adhering it to the side/flaps of the tray. 


8. Finally, adhere it to the bottom of the cover/folder that you initially made. Remember to use a very good adhesive so that it doesn't fall apart. You can keep it plain and simple. Or you can add a design on the cover like I did with mine.


I added a little designed cover so that the person I'm giving this set to has an idea of what's in store for her. :) 

I tied my envelopes and cards together with twine and inserted the stickers underneath. This card box can hold upto 5 cards and envelopes. If you want to make something to hold more cards, just increase the width of your scored edges.

And there you go! An easy card set with a matching gift box and coordinating stickers. I hope you learned something new today. Thanks for stopping by! I'll see you again soon!


LinkWithin

Related Posts with Thumbnails